Search This Blog

Friday, June 24, 2016

Steampunk butterfly with gears

Steampunk Butterfly

Steampunk Project


This is my Steampunk butterfly picture canvas. I love doing mixed media, it is so fun to work with and sometimes you make something that is a little different from how you imaged it. But it is always good in the end.


This is a list of supply's of what I used to mike it.
1.Canvas  2. paint   3. CM   4. Spray paint  5.StazOn ink
6. E600   7.Palet knife   8.medal gears  9.wire
10. Chipboard gears from Infinity Engraving
11.Sapm with music notes   12.tulle 13. Hot glue gun
14.Sizzix big shot machine  15.Sizzix embossing boutique machine


Start by painting the gears.


Next get you metal gears out and arrange  them into a butterfly shape. Use the hot glue to hold it together, then use the E600 on the back to make sure that is will stay.


Next using your paint plait start with the purple paint, them the yellow, and last the orange.
Spread it on letting it mix together. let dry the using the stazon ink stamp the
big music stamp all over lighter colors.


Spray on the Tolle the red and yellow colors and, let it dry while you go to the next step.


Next you will use the CM paste to glue down the Toole. Set it aside and let it dry.


Next using the Sizzix big shot and the embossing machine. Cut out the butter fly dies,
then emboss them. Add a little of the Cm to the wings to give it even more texture.


 Add a little of the Cm to the wings to give it even more texture


Using the CM as glue start gluing down the gears, butterfly's. Then using the
E600 glue the metal butterfly down.


Like I said the was so much fun to create. Go look at Infinity Engraving to got some chipboard so you can make on to. Her is a link  http://www.ie-studio-creations.com/index.html
Thank you for stopping by


Sunday, June 5, 2016

Hot Air Balloon Day

Hot Air Balloon Day

Hot Air Balloon Card


Today is Hot Air Balloon Day. when I think of hot air balloons. I think of the movie called Around the World in 80 Days. It was a 1956 film, I love the movie. This film won five academy awards and including best picture. If you have never seen the film befor you should go to Netflix and get it on DVD. I had so much fun making the card. 


This is the Supplies you will need to make this card.

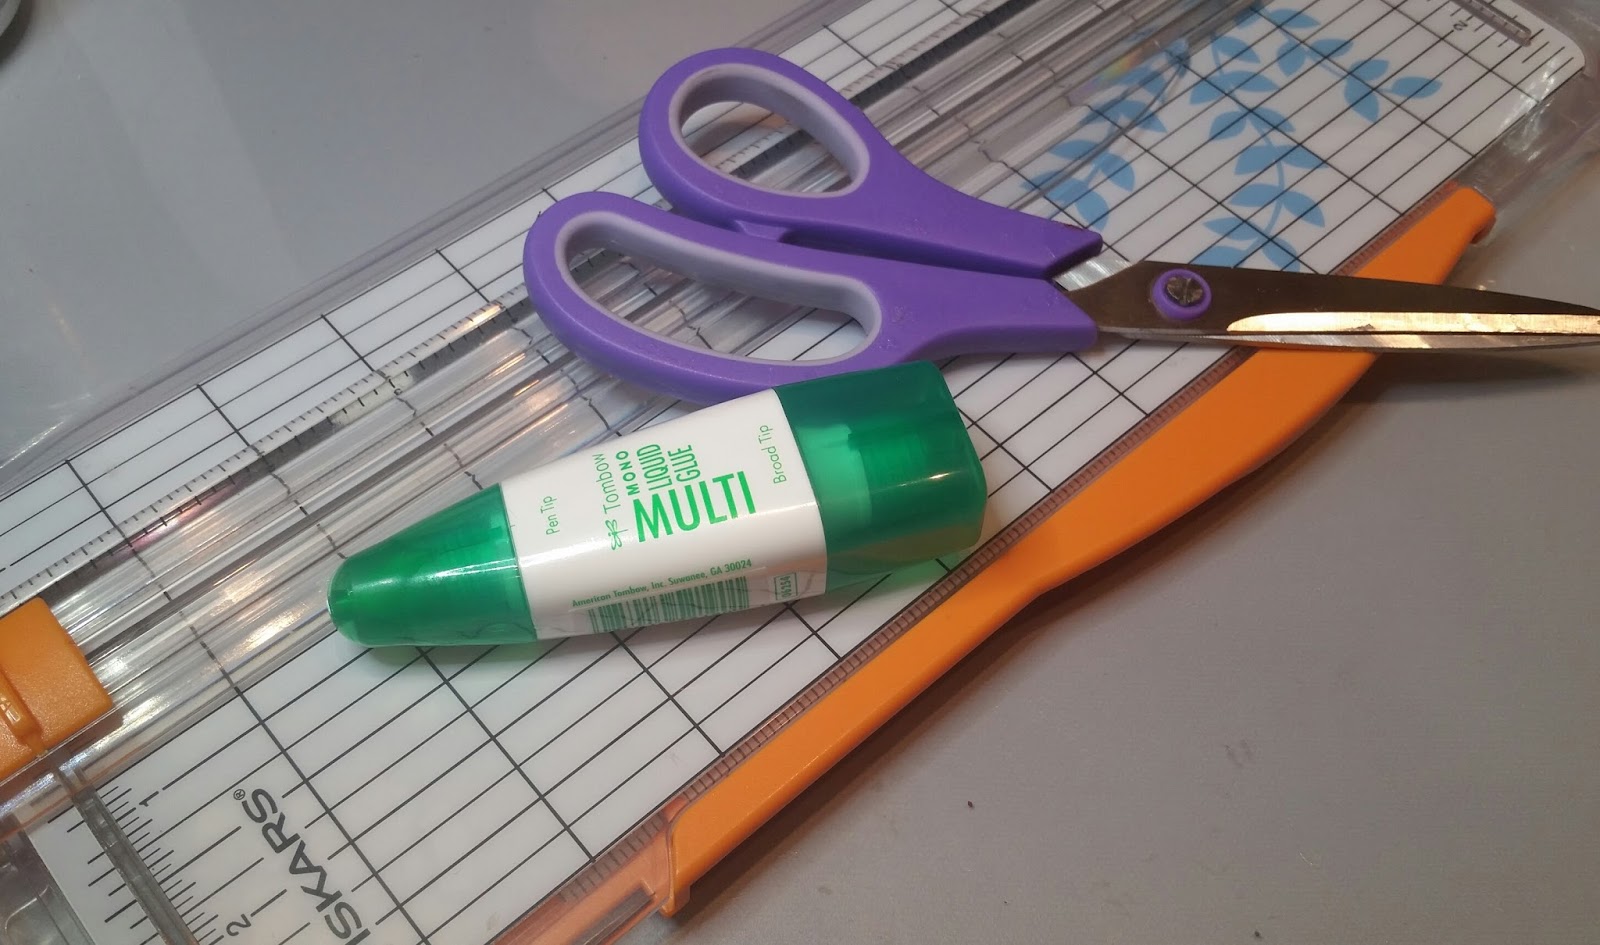
1. Paper Cutter  2.  Scissors  3. Paper of your choice
4. Sizzix big shot  5.  A embossing folder
6. hot air balloon stamps and dies (Stamps of Life)
7. Multi Mono glue  8. Ink   9. foam dots


You will first cut out the dies using the sizzix big shot, ink the edges of the clouds, and the sun. Then stamp the hot air balloons. Use several colors so they look bright.


Pick out your paper colors, cut them and emboss the top color and lightly ink the embossed paper.
  

Put the foam on the back of the balloons and the clouds you want to pop out. Glue the layers of the paper to the card base, and you will have a wonderful card. Thank you for coming by to hear about my project. 
Allison Clark

Wednesday, May 25, 2016

Cookie Monsters Birthday Pop Up Card

Cookie Monsters Birthday Card

Birthday Pop Up Card


This is the front of the card


This is the inside of the Pop Up Card

Cookie Monster is a Muppet on the long-running show Sesame Street. He is best known for his voracious appetite and his famous eating phrases, such as "Me want cookie!" "Me eat cookie!" and "Om nom nom nom" (said through a mouth full of food). He often eats just about anything, including ice cream, hot dogs, cake, pizza, doughnuts, lettuce, apples, bananas, watermelon, as well as normally inedible objects. However, as his name suggests, his preferred food is cookies. Chocolate Chip Cookies are his favorite kind; oatmeal cookies are his second favorite. I really enjoyed making this card today.

Here is a list of what you will need to make this card.


1. Cricut Explore  2. Inkscape program   3. Jewels
4. Scissors  5. Paper Cutter  6. Mono Multi glue
7. Washi tape  8. Ribbon  9. Google images of cookies
10. Google coloring book image of Cookie Monster
11.  Paper color of your choice  


What you will do first is get you color book image of
 Cookie Monster, and put it into the inkscape program and make it into a SVG. Then upload it to you design space. 
You can see them in my account. 


I cut every part of the card on my Cricut Explorer. 
This is what it will look like cut out.


I then went to google images and  find images of cookies. 
I then fussy cut them out for the inside of my card. 


Next you will put the 3D Foam on the back of the 
cookie Monster image and the word Cookies. 
At this point glue the pop up piece in side the card. Making sure that it is folded the right way. Glue the dish of cookies to the pop out part in the card. Then glue the rest of the card how you would like it to look. 


I made the inside a pop up card. Thank you for reading my post,
 hope you make one for yourself.

Wednesday, May 11, 2016

Hostess Cupcake Day

Cupcake Tag

Hostess Cupcake Day


Hostess Cupcakes are my favorite cupcakes. I was so excited to do this project. Hostess Cupcakes are second only to Twinkies. Because they are so good, it is only right that they have their own day. The cupcakes have a hard chocolate on top with hard icing that tops it off. It's chocolate cake is amazing too, The best part is the creamy dreamy filling inside. I usually pull off everything and eat it and save the dreamy creamy surprise for last. That is the reason why they have there own day.
I thought that I would get a few Cupcakes as I make this tag. I did get a few of the other brands, but Hostess is the top one of them all. 

Today I will be making a tag. I will be using the 
Chipboard from Infinity Engraving for my cupcakes. 


This is a list of what you will need to make the tag.
1. Cupcake chip board ( Infinity Engraving ) 
2. Paper of your choice  3. Doily 
 4. a piece of thin cardboard ( I took mine from the back of one of my paper packs) 5. twine 6. Paper cutter  7. scissors
8. Two kinds of ribbon  9. Mod Podge  10. Stickles 
11. Gesso  12. Paint colors you chose 13. paint brushes
14. flower jewels 


You will first get your chipboards and paint them with Gesso. You do that so that it seals the chipboard.


Next you will paint the chipboard the colors we chose. When it is dry, use the stickles where you want it. 


Then you will Mod Podge the cardboard to the paper. Let it dry for   min. and Mod Podge the doily to the paper. Then brush a layer of Mod Podge over the top of whole tag. Next you will Mod Podge the chipboard cupcakes to the tag.Punch a hole at the top and add is some bribon to the top of the tag. Last you will glue some bling on the tag so it will sparkle. 

I very much had fun making this tag. And eating a lot of Hostess cupcakes. Thank you for stopping by, be sure to read some of the other posts.  You can get the cupcake and any other ones you like at ......   http://ie-studio-creations.com/.../c1/Featured_Products.html

Tuesday, May 3, 2016

Cat Tag

CAT TAG

Hug Your Cat Day


Today is hug your cat day. I love my cats very much. But my favorite is Toby the Tiger. Toby was a cat that was abandoned by his mom. A friend of mine who is a vet tech was called out to rescue him and his 3 other siblings. She bought him to me because she knew i wanted another cat. she said he was special, and boy was he. He has 7 toes on his front feet and one extra claw on his back feet. I saw them and knew his name should be Toby the Tiger. He started out fitting in my hand, but now he is 25 lbs. and 15 inches tall, the size of a small dog. He is such a love bug. When I decided to do this project, I thought of Toby and how can I make something about my cat. Toby loves to be held and hugged a lot. Because today is Hug your cat day I had to make a tag for him.

This is the supplies you will need.
1. Chip board (Infinity Engraving)
2. scissors  3. Mod Podge  4.  paint brush
5. Cardboard (back of paper packs)
6. Paints   7. Stickles (2 colors)
8. Ribbon ( 3 different colors)
9. Papers of your choice 10. doily 


I first painted the chipboard. Then let it dry added the stickles to the Big letter C and to the edges of the heart. 

I then cut out my cardboard to the size I wanted 4 1/2 "x10". Then the solid lavender paper the same size. The flower paper was cut to make a border around the edges was a 1/4 " border. I then Mod Podge the lavender paper to the cardboard and the flower border. I then Mod Podge the doily down. Then let it dry for 10 min. and did another layer of Mod Podge, let it dry for 15 min. more min. Glued down down the chipboard saying and the picture of myself with my cat using the Mod Podge. Put one more layer of Mod Podge over it all. Let it dry and glued down the flower, and punched a hole in the top and added the ribbon to the top. You can get the Chipboard from Infinity Engraving. Thank you for stopping by to read my blog. Here is the link to see and get some chipboard for yourself.