Wednesday, December 7, 2016
Monday, October 31, 2016
Saturday, September 17, 2016
Wednesday, September 7, 2016
Monday, August 22, 2016
Chipboard project or technique
Cute card with clip
Chipboard project or technique

I made this card using the chipboard from Infinity Engraving. I love using their products you can do so many thing with them. I used the paperclip chipboard in this fun card.

This is the things you will need to make this card.
1. Modge podge 2. glue 3. twine
4. Image from google is what I used
5. glitter 3 colors 6. paint brush
7. pop dots 8. different color papers for layering
8. chipboard paper clip from Infinity Engraving

You will put mod podge on the chipboard, one letter at a time and sprinkle the glitter on. using two shades of colors.
Set that aside to dry.

You will then cut the paper to the size of the card you chose. Then ink the edges of them all and glue them doe all but the small one. Take the corrugated tool and do it to that piece.

Ink the edges of the the corrugated paper and glue some glitter at the bottom of it. Then glue to card, and glue the chipboard paper clip down. The card is done. I think it turned out so cute.
Thank you for stopping by to see what I made.
Allie >^..^<
Tuesday, August 16, 2016
Free Printable
Vintage Summer Card
Free Printable

I made this card using the free printable that Infinity Engraving posted on there blog.

These are the things you will need to make the card.
1. Paper for the card 2. Free printable
3. corner punch 4. paper cutter
5. lace 6. mod podge 7. paintbrush
8. glue 9. pop dots 10. glitter

Cut your paper for the card and the layering pieces. You will need 3 copies of the free printable image, that way you can layer them. Cut out the words at the bottom of the image. Cut out the girl and her towel from one of the copies, then just the girl from the other image. Put the pop dots on the back of them all.
 .
.
Glue the piece down and add the lace to the side of the card. Then put mod podge where the sand is on the image and sprinkle two different colors for glitter. (sand and gold) Let it dry and you have finished a amazing card.
Thank you for stopping by to see my blog.
Allie
Tuesday, August 2, 2016
Watermelon Day Card
Watermelon Day
Watermelon Card

This is my Watermelon card I made for watermelon day. I do love to make cards, when this blog came up to do something for watermelon day. I thought I have the perfect thing that I will make.

This is what you will need to make the card.
1. paper of your choice 2. scissors
3. glue 4. paper cutter 5. sizzix big shot
6. Stamps and Dies by Stephanie Barnard

You will start by cutting out the watermelon and the words for the card. I used the glitter paper and black for the back of each cut.

Glue the pieces together, cut all your pieces of paper for the card.

Wrap the twin around the top layer of the last
piece of paper before you glue it down.

Glue all the pieces down but the last piece of watermelon.
Put pop dots on that piece.

This is the finished card. Thank you for stopping by to see what I made today.
Allie Clark
Monday, August 1, 2016
Sunday, July 31, 2016
Mixed Media Forever
Forever
Mixed Media

I made this Mixed Media using the word Forever as my chipboard in this project. I love the word forever, my husband and have been married for 25 years this year. I picked this pitchure for this project to celebrate our anniversary.


This is the supplies you will need to complete the project.
1. Canvas 2. Mod Podge 3. Glitter
4. Tuley 5. paint brush 6. copy of pitchure
7. Twine

You will start by using the Modge Podge to paint on each letter to sprinkle the glitter on. You should do one letter at a time so it does not mix the colors. Set it aside to dry.

You will then cut the pitchure out to how you want it to look on the canvas. I did not want any back ground so I cut that out of the pitchure. Then Mode Podge the tulle to the canvas and the pitchure. Sprinkle some silver glitter over it to give it some sparkle.

Next you wrap the twine around the canvas three times and make a bow. Glue down the Forever word and you are done. Very fun and easy project. I love it so did my husband when I gave it to him as his anniversary gift. Thank you for stopping by to see what I made. Don't forget to go to Infinity Engraving website to get some chip board for yourself.
Allie Clark
Wednesday, July 6, 2016
Hot Air Balloon Canvas
Hot Air Balloon Canvas
Chipboard Project

Thank you for comming by to read my blog. This blog is about Hot air balloons. I think the hot air balloons are so amazing, and look like alot of fun. Me I am to scared to go in them, I don't like hights.
Here is a little a little history about the hot air balloon.
The hot air balloon is the first successful human-carrying flight technology. The first untethered manned hot air balloon flight was performed on November 21, 1783, in Pais France. A hot air balloon consists of a bag called the envelope that is capable of containing heated air. Suspended beneath is a gondola or wichwe basket (in some long-distance or high-altitude balloons, a capsule), which carries passengers and (usually) a source of heat, in most cases an open flame. The heated air inside the envelope makes it buoyant since it has a lower density than the relatively cold air outside the envelope


This is the supplys you will need to compleat the project.
1.Paint 2.Stazon on ink 3.Paint brushes
4.Stamps by Stamps of life 5. E600 glue
6. sissors 7. Canvas 8.Gold sparkle paper
9. Gold glitter glue 11.Pop dots
10.Balloon Chipboard from Invinity Engraving
This is the link to go see what else thet have.


you will start by painting the canvas. Start by painting the sky and such.


Next you will get the chipboard and paint them. Then cut out some of the glitter paper and glue it to the back of the balloons. Next you will put some pop dots on the back of one of the ballons so it will give the pitchure a three D look to it. Next you will stamp the Up Up and away at the top of the pitchure. Then glue down the hot air balloons to the canvas using the E600
This is the finished project. I love how it came out. So much fun to make.
Thank you for stoping by to see what I made. I do hope you will try and make one for your self.
Don't forget to check out Infinity Engravings web page to get your own chipboad.
Saturday, July 2, 2016
4th of July Pocket Letter
4th of July pocket Letter
This blog is about 4th of July. This holiday is one of my most favorite days. On July 4, 1776, the thirteen colonies claimed their independence from England, an event which eventually led to the formation of the United States. Each year on July 4th, also known as Independence Day, Americans celebrate this historic event.
I made a pocket letter for this day.

Things you will need to make the 4th of July pocket letter
1. Pocket letter made
2. E600 3. Paint
4. Chipboard from Infinity Engraving
Paint the chip board and use the E600 to glue it to the Pocket Letter.
This was so much fun to make.
Thank you for stopping by to check out my post.
Allie
Friday, July 1, 2016
International Chicken Wing Day
International Chicken Wing Day
International Chicken Wing Day
This blog is about a recipe for chicken wings. I love chicken wings pretty much any way that they are made. It goes back to when I was a small child (7 years old). My mom was frying some chicken wings in some oil on the stove and I decided to help her out. I saw a bottle of Italian dressing next to the stove. I pored it in to the skillet all over the wings. Well my mom was not to happy about it, but she did not want to throw out the food. She went ahead and continued to let them simmer in the sauce. It was so good, now to this day our family makes them at least once a week. We did change it a bit in that we fry the wings then put them in the oven to get them crispy. This is our family recipe the we use and love love love so much.
Italian Chicken Wings

Salt
Pepper
2 pounds chicken wings, cut up
Oil
Italian Dressing
Season the chicken with salt and pepper. Heat oil in a deep fryer or skillet to 360-375°F and fry wings for about 10 minutes. Remove wing and place in a baking dish, put the whole bottle of Italian dressing over them. Cook in the oven for 10 min at 375 degrees. Turn over and cook for another 10 min. Serve over rice and they are so yummy.
Thank you for stopping by to read my blog.
Allie
Friday, June 24, 2016
Steampunk butterfly with gears
Steampunk Butterfly
Steampunk Project

This is my Steampunk butterfly picture canvas. I love doing mixed media, it is so fun to work with and sometimes you make something that is a little different from how you imaged it. But it is always good in the end.


This is a list of supply's of what I used to mike it.
1.Canvas 2. paint 3. CM 4. Spray paint 5.StazOn ink
6. E600 7.Palet knife 8.medal gears 9.wire
10. Chipboard gears from Infinity Engraving
11.Sapm with music notes 12.tulle 13. Hot glue gun
14.Sizzix big shot machine 15.Sizzix embossing boutique machine

Start by painting the gears.

Next get you metal gears out and arrange them into a butterfly shape. Use the hot glue to hold it together, then use the E600 on the back to make sure that is will stay.


Next using your paint plait start with the purple paint, them the yellow, and last the orange.
Spread it on letting it mix together. let dry the using the stazon ink stamp the
big music stamp all over lighter colors.

Spray on the Tolle the red and yellow colors and, let it dry while you go to the next step.

Next you will use the CM paste to glue down the Toole. Set it aside and let it dry.


Next using the Sizzix big shot and the embossing machine. Cut out the butter fly dies,
then emboss them. Add a little of the Cm to the wings to give it even more texture.

Add a little of the Cm to the wings to give it even more texture


Using the CM as glue start gluing down the gears, butterfly's. Then using the
E600 glue the metal butterfly down.
Like I said the was so much fun to create. Go look at Infinity Engraving to got some chipboard so you can make on to. Her is a link http://www.ie-studio-creations.com/index.html
Thank you for stopping by
Sunday, June 5, 2016
Hot Air Balloon Day
Hot Air Balloon Day
Hot Air Balloon Card

Today is Hot Air Balloon Day. when I think of hot air balloons. I think of the movie called Around the World in 80 Days. It was a 1956 film, I love the movie. This film won five academy awards and including best picture. If you have never seen the film befor you should go to Netflix and get it on DVD. I had so much fun making the card.

This is the Supplies you will need to make this card.
1. Paper Cutter 2. Scissors 3. Paper of your choice
4. Sizzix big shot 5. A embossing folder
6. hot air balloon stamps and dies (Stamps of Life)
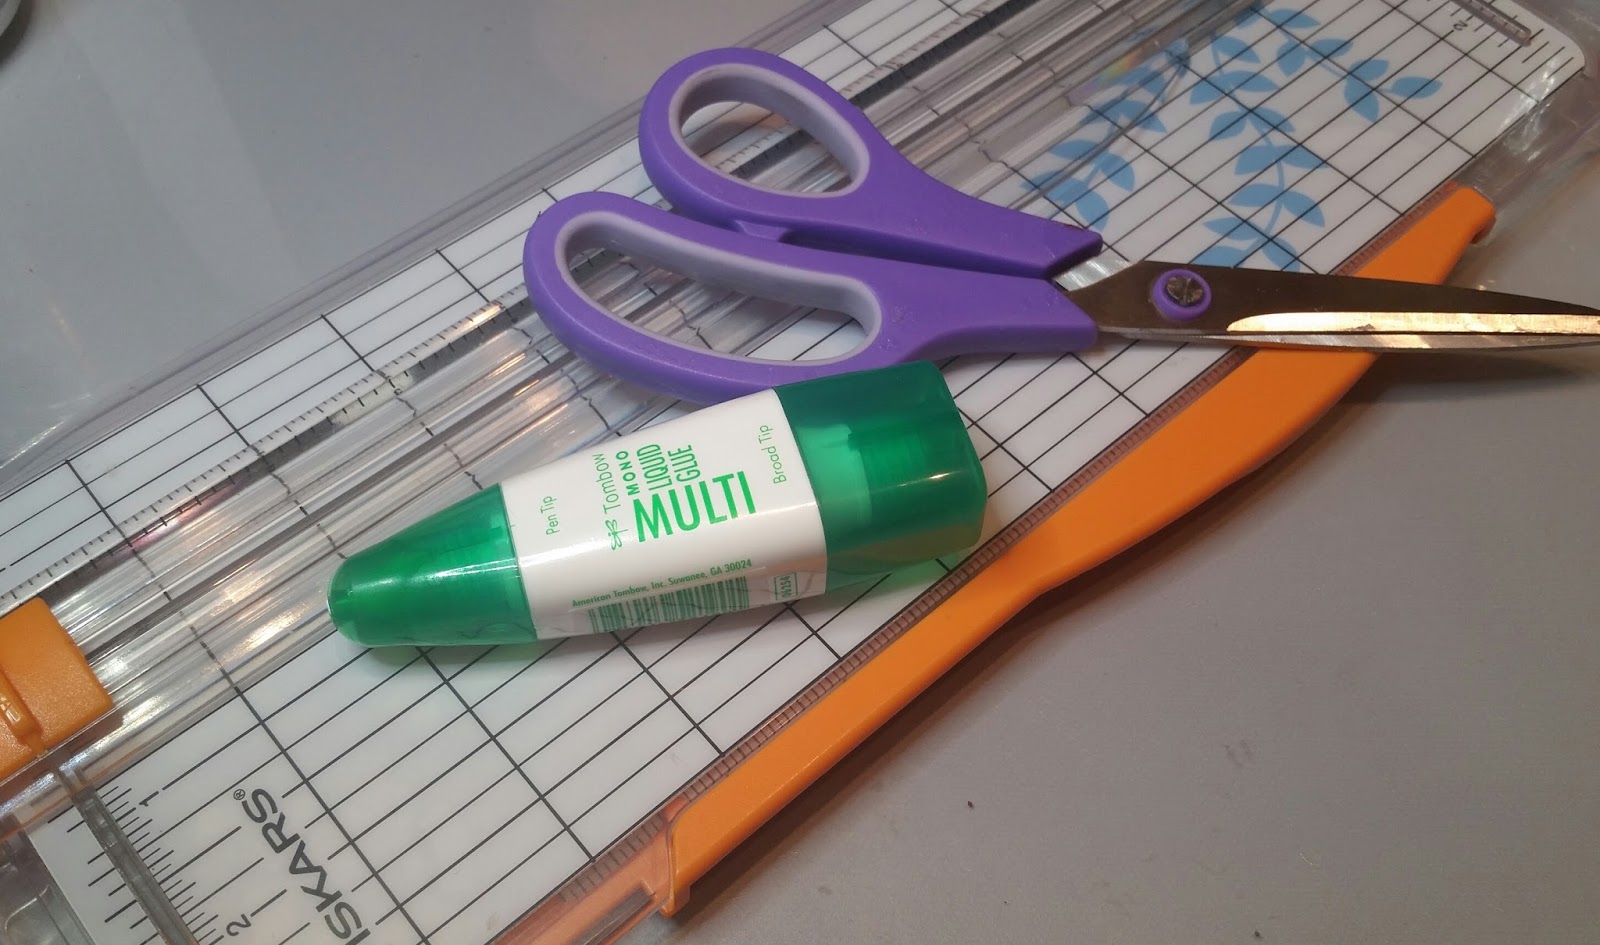
7. Multi Mono glue 8. Ink 9. foam dots


You will first cut out the dies using the sizzix big shot, ink the edges of the clouds, and the sun. Then stamp the hot air balloons. Use several colors so they look bright.


Pick out your paper colors, cut them and emboss the top color and lightly ink the embossed paper.

Put the foam on the back of the balloons and the clouds you want to pop out. Glue the layers of the paper to the card base, and you will have a wonderful card. Thank you for coming by to hear about my project.
Allison Clark
Subscribe to:
Posts (Atom)